Use this course page as a task tracker and an example of how to present your work, ensuring you are using Weebly to it's full potential AND that your tasks contain all the necessary bits of information. We will regularly check in on your pages and leave specific feedback on your "teacher comments" page.
Formal elements lessons
|
You are going to practice taking photos by focusing on some of the "formal elements", which is a term used by artists/art critics traditionally within the fine arts, to refer to the elements within a successful composition. They are considered the 6 formal elements of design for any visual media and generally include the following:
|
Artists manipulate the above in a number of ways. These ways are known as the principles of design and are the following:
|
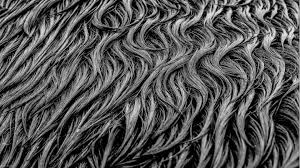
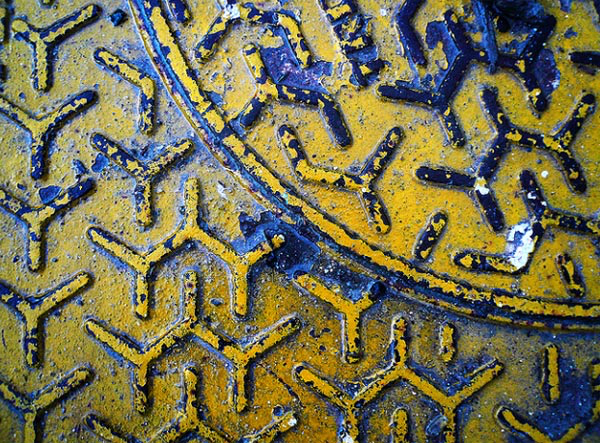
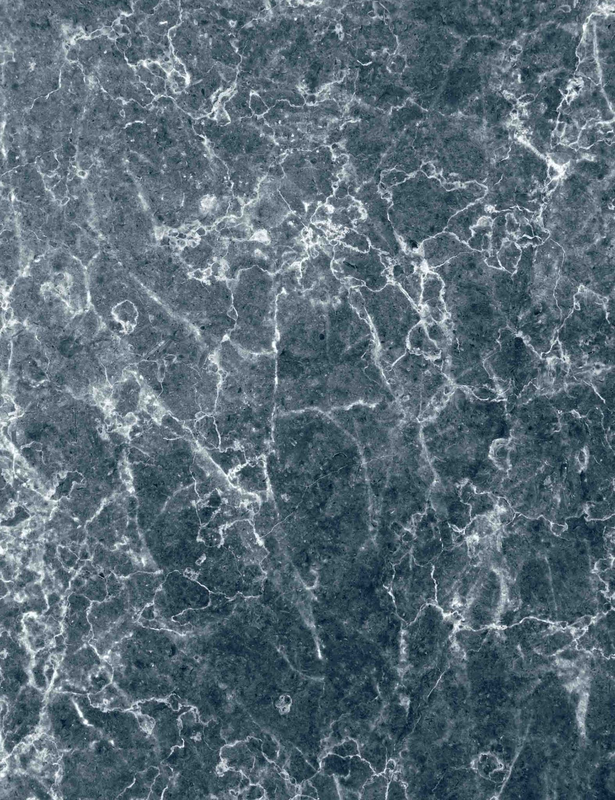
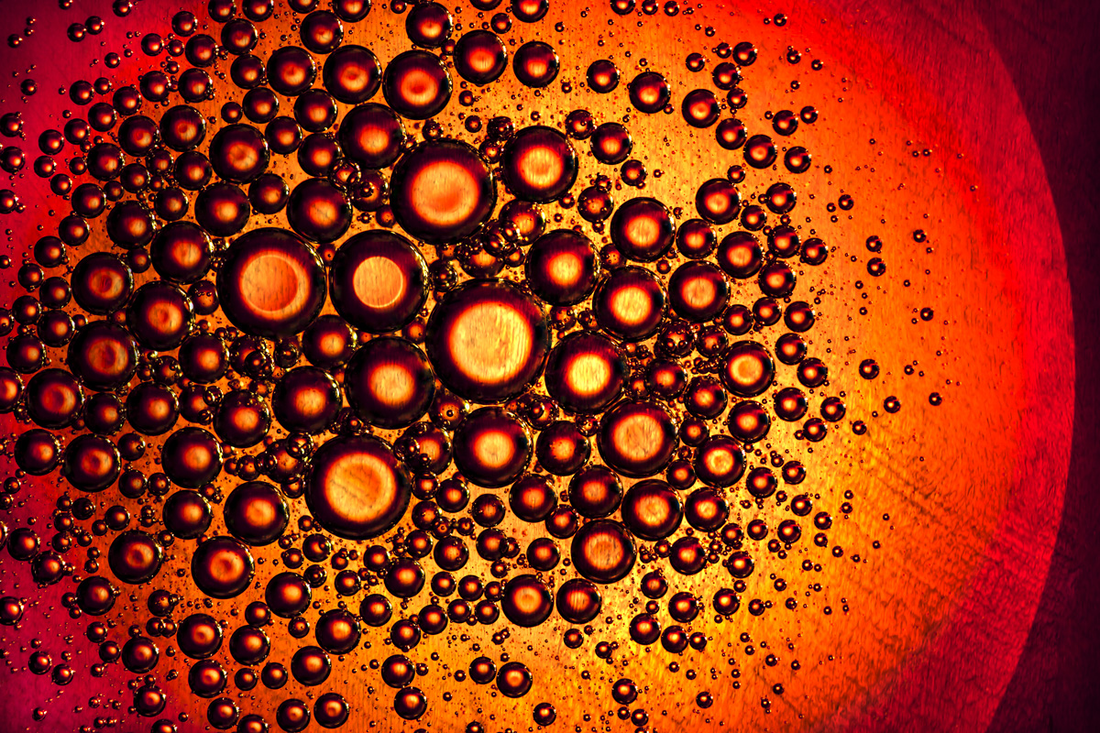
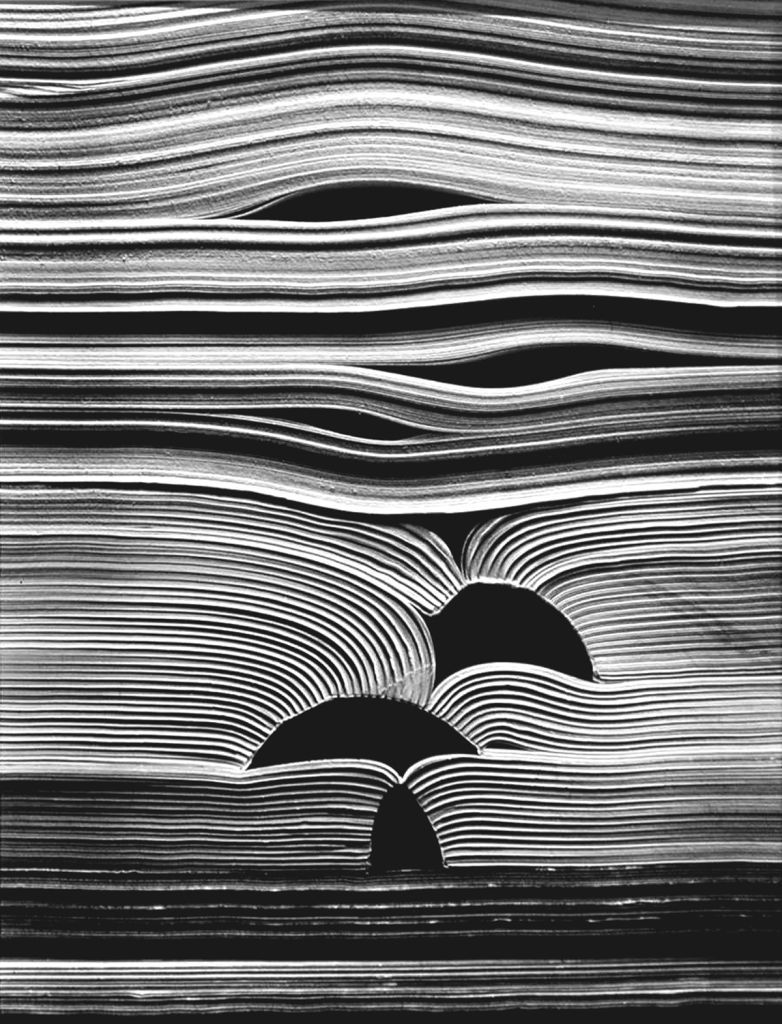
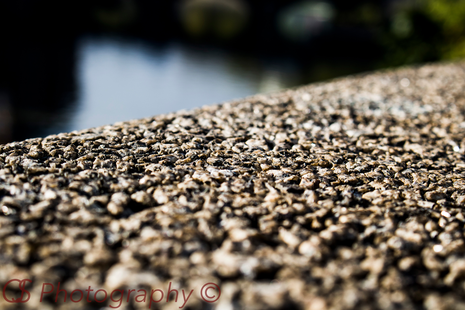
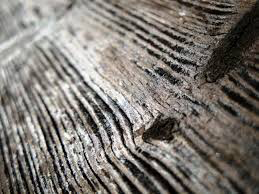
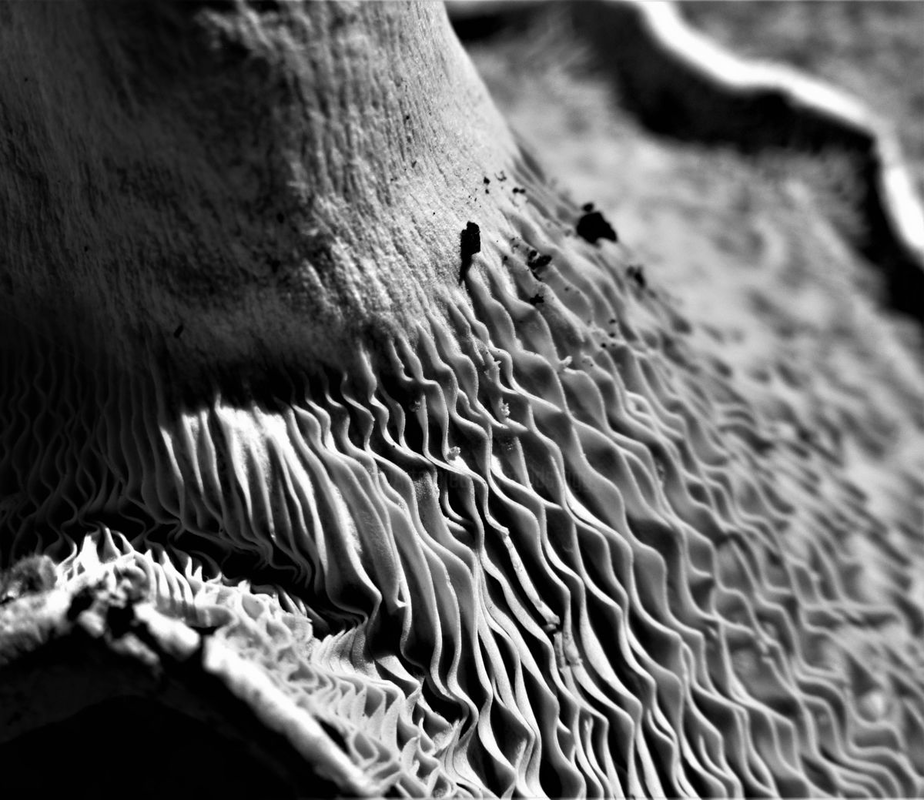
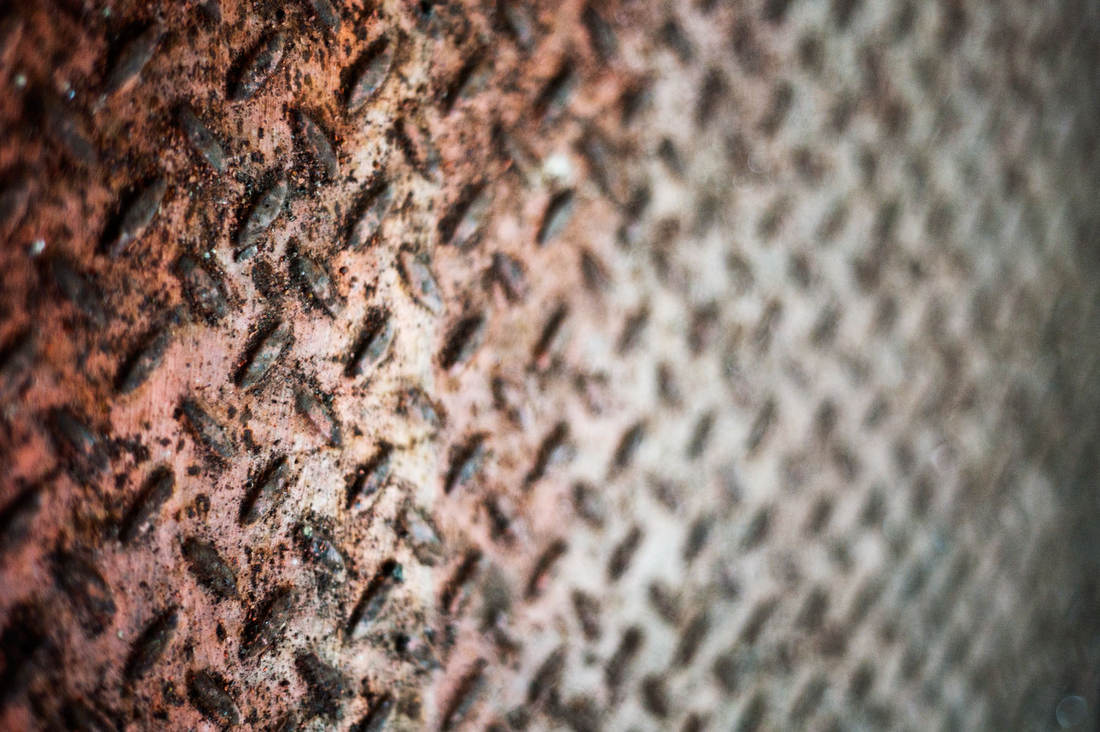
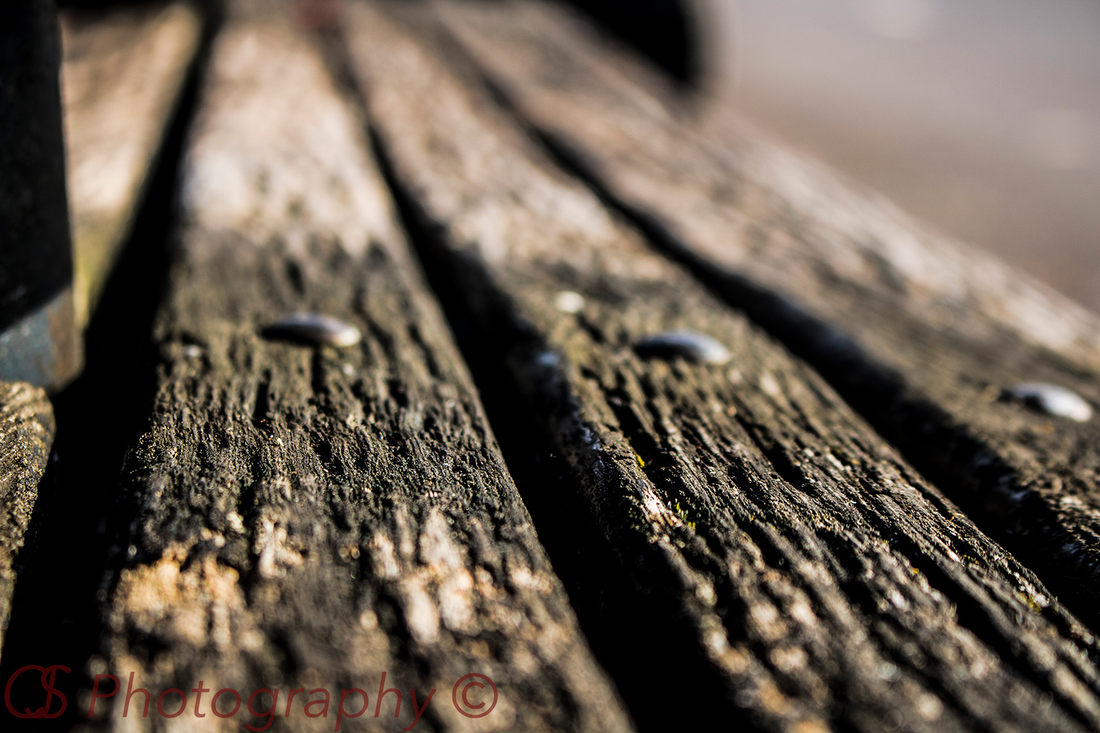
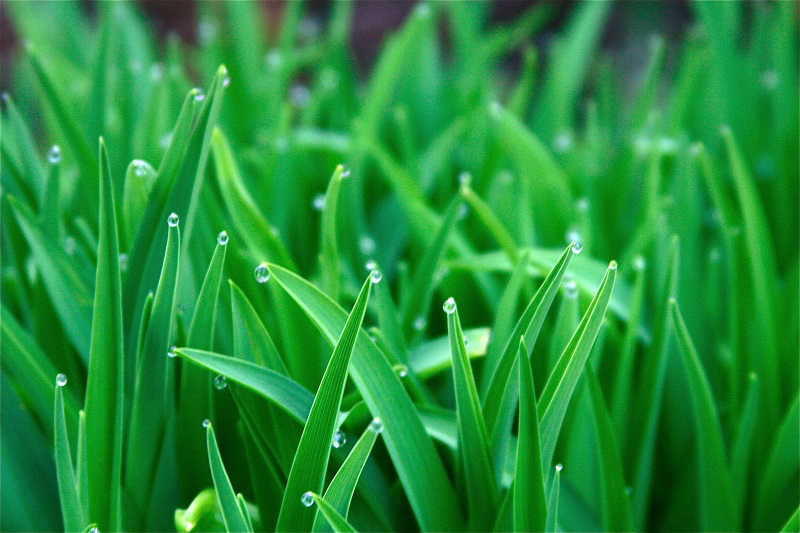
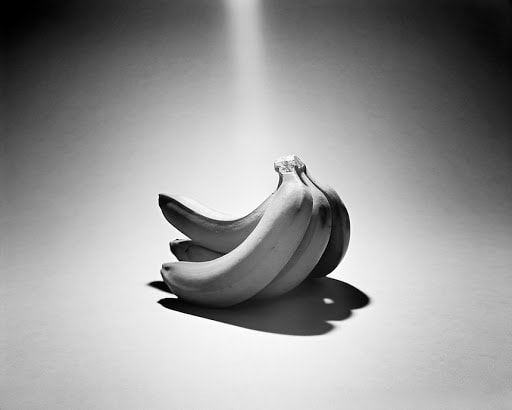
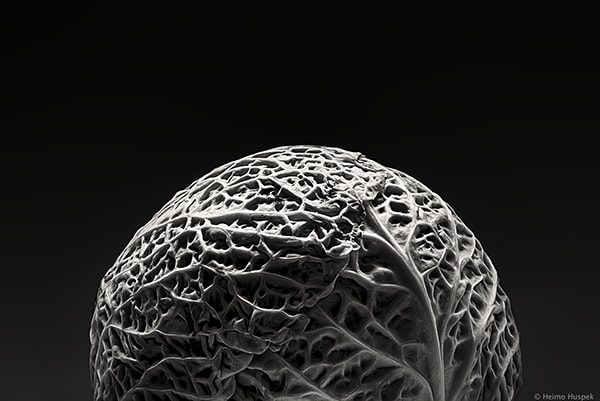
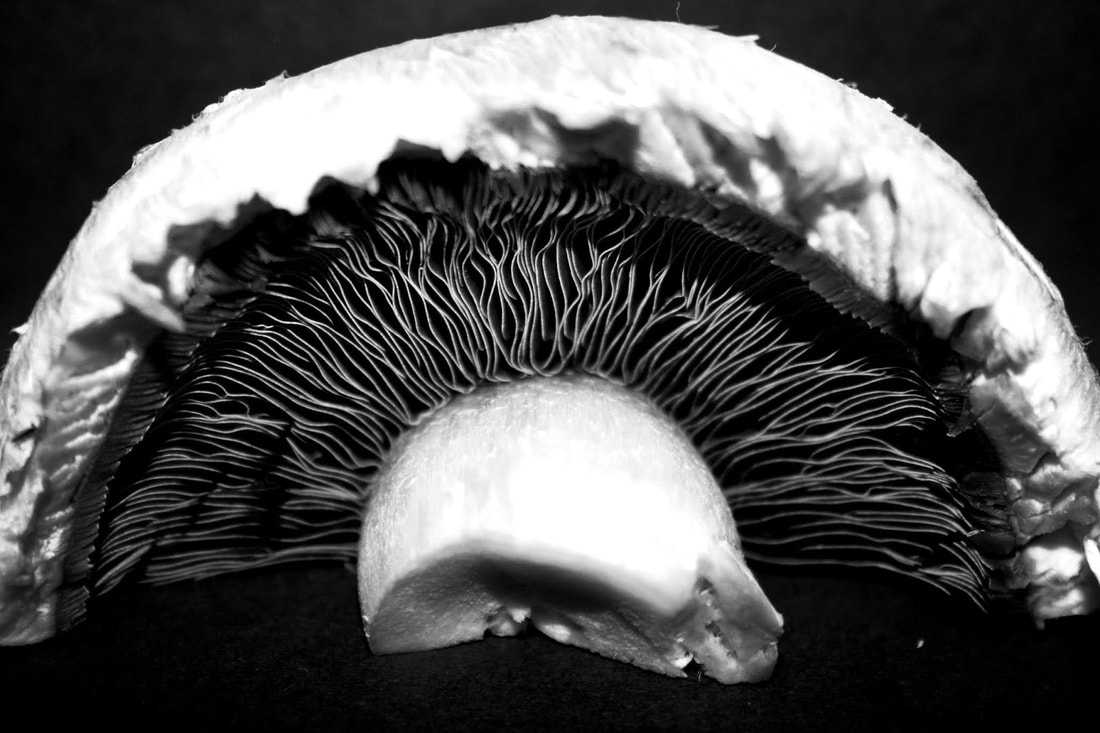
Half-term focus - - - Texture and Pattern
TASK 1
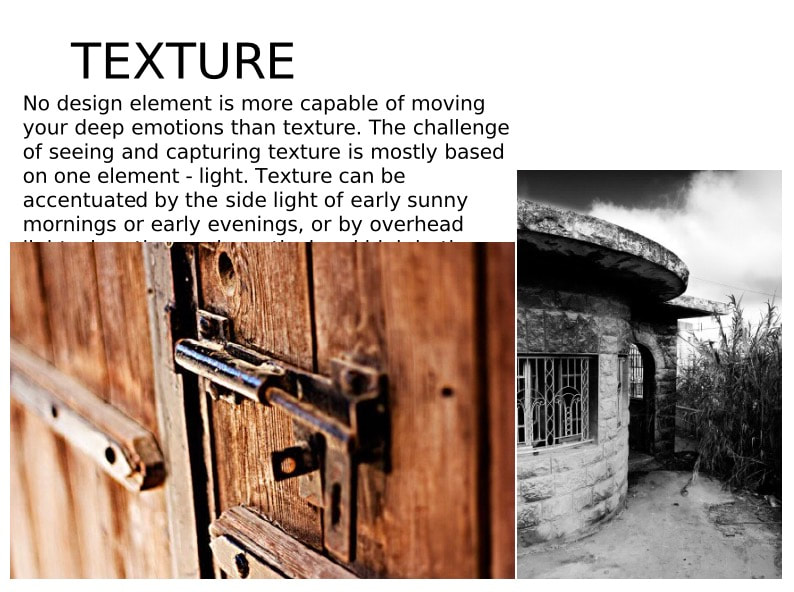
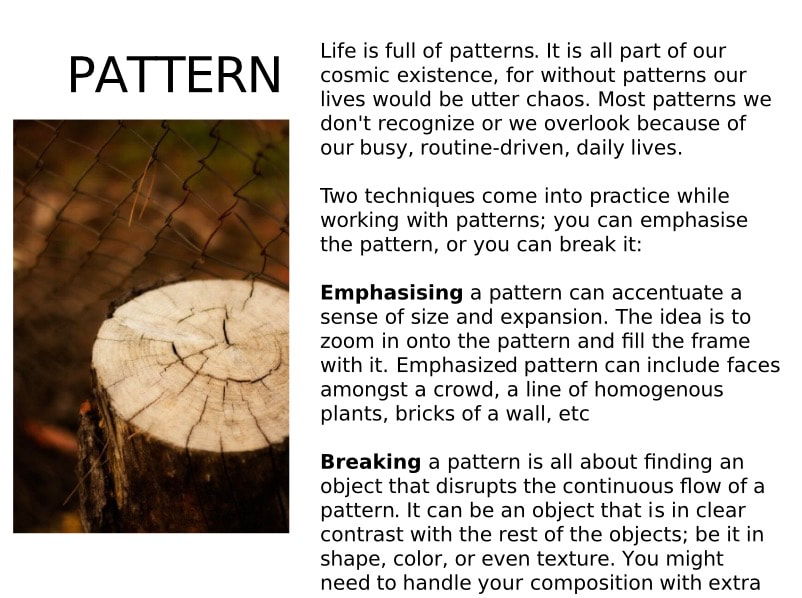
Use the below information and click on the below button to explore how texture and pattern are used as formal elements to create effective visual imagery. Use your research to write an introductory paragraph on your weebly, under the next heading of "Texture and Pattern". Try to include what it is, why artists focus on it and how photographers can capture it.
Use the below information and click on the below button to explore how texture and pattern are used as formal elements to create effective visual imagery. Use your research to write an introductory paragraph on your weebly, under the next heading of "Texture and Pattern". Try to include what it is, why artists focus on it and how photographers can capture it.
|
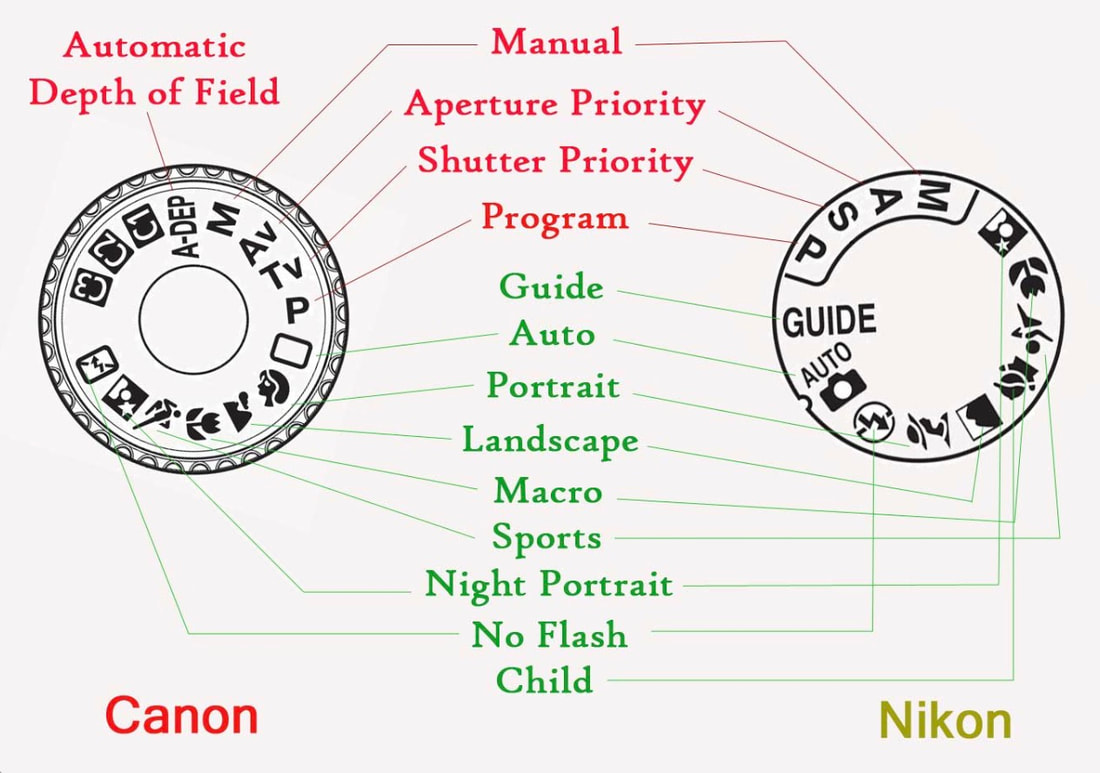
The technical aspects .....
|
|
TASK 2
Using a range of camera settings and your knowledge of framing from other lessons, take a contact sheet (35 pictures) of materials and surfaces that demonstrate variations on pattern and texture. You must consider the setting you are using at the time and what it is most effective for.
Consider your lighting; your camera angle; your proximity to your subject matter.
How do you draw attention to what you want to?
How do you demonstrate explorative but effective lighting?
Can you show a range of at least 10 different ideas in your shoot?
IT'S ALL IN THE LIGHTING - try to show all of this ...
natural vs artificial
side on to enhance shadows
harsh and diffused lighting
flash - what does this do?
working in your home environment - what can you come up with?
natural vs artificial
side on to enhance shadows
harsh and diffused lighting
flash - what does this do?
working in your home environment - what can you come up with?
|
|
Macro camera setting

|

|
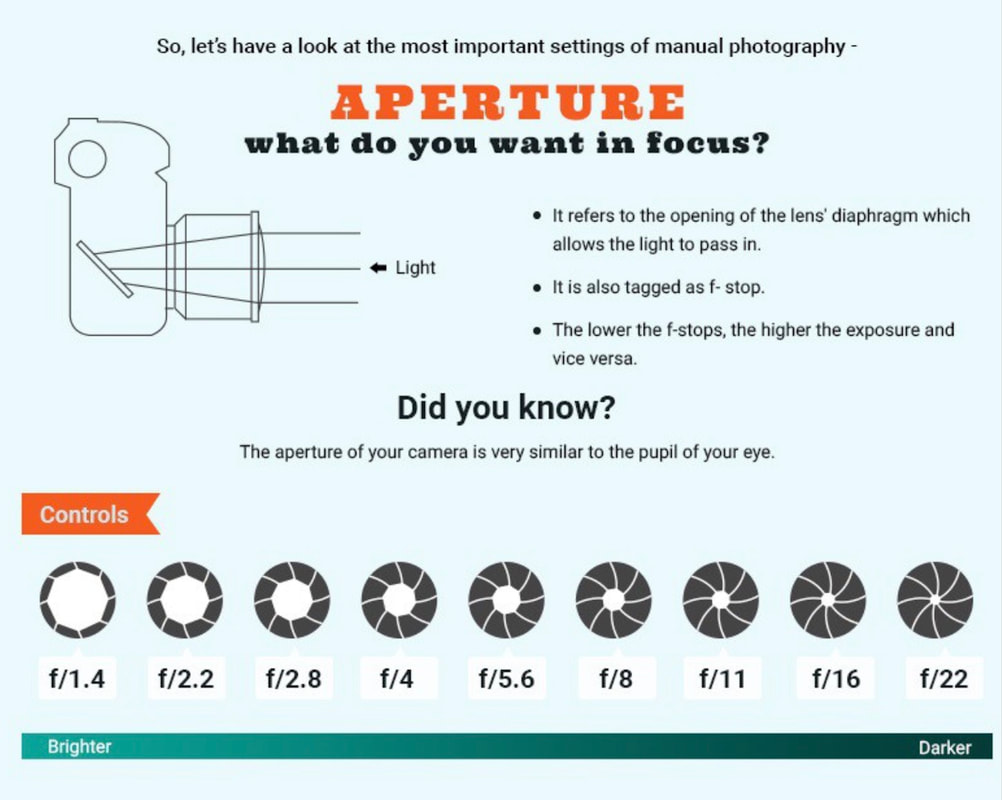
Aperture priority setting
|
|

|
TASK 3
Follow this guide on how to present your texture and pattern work on your weebly for the highest possible marks. As always, ensure you are considering the layout of your work and try to be independent. Always use all key photography vocabulary and justify your insights / comments / choices. Green text shows opportunities for higher marks. |
1. Heading: Exploring Texture and Pattern
Write an approx. 300-word paragraph to explain what these formal elements are, why they are important in photography. Suggest how a photographer can capture texture and/or create pattern. Even better if you find an example of texture or pattern in photography and use this to illustrate your points. 2. Your contact sheet (gallery of 35 pics) Write an introduction to your photoshoot that explains what you have done, why, how and the learning you have achieved through the shoot. Make clear the camera settings you have applied, the locations you have considered, the lighting you have experimented with and any other technical considerations. Those of you wishing for an A grade will make it clear in their photoshoot that you have experimented with 10 or more locations, at least 5 different types of lighting and multiple camera settings and angles. Upload your strongest 35 pictures as a gallery and set this to rows of 5. Make sure you take the image ratio setting off on your weebly. 3. Your strongest 6 edited images Choose 6 of your strongest images to edit, using the photoshop and photoshop app strategies you have become familiar with. Remember to show experimentation, i.e. do not do the same thing over and over again and choose images that complement one another. Sometimes, all an image requires is a crop and a subtle adjustment using the levels tool. Sometimes images require more – it’s up to you! |
TASK 4
It is time for you to take control of your project and choose who your next artist is going to be! This is vital to a successful project. The more independent you become, the more exciting your development is.
Use the website art2day to find an artist you wish to explore. This artist's work must relate to pattern and/or texture and work in a way that you feel you can mimic. Click on "artist search" (the password is "imagine") and search through the categories you think are appropriate. Remember, you will need to take photos in response to this artist so set yourself an appropriate challenge - don't go choosing anything you have no idea how to create at this point. Don't choose anything too easy though!
Write an artist analysis, using the template you have been working with Ms Premji on. Upload in the usual manner, with 3-6 photos of their work that are specific to your theme.
CHALLENGE TASK FOR THOSE WANTING TO PUSH
Take photos in response to your chosen artist! Why not try to edit them too?
Take photos in response to your chosen artist! Why not try to edit them too?
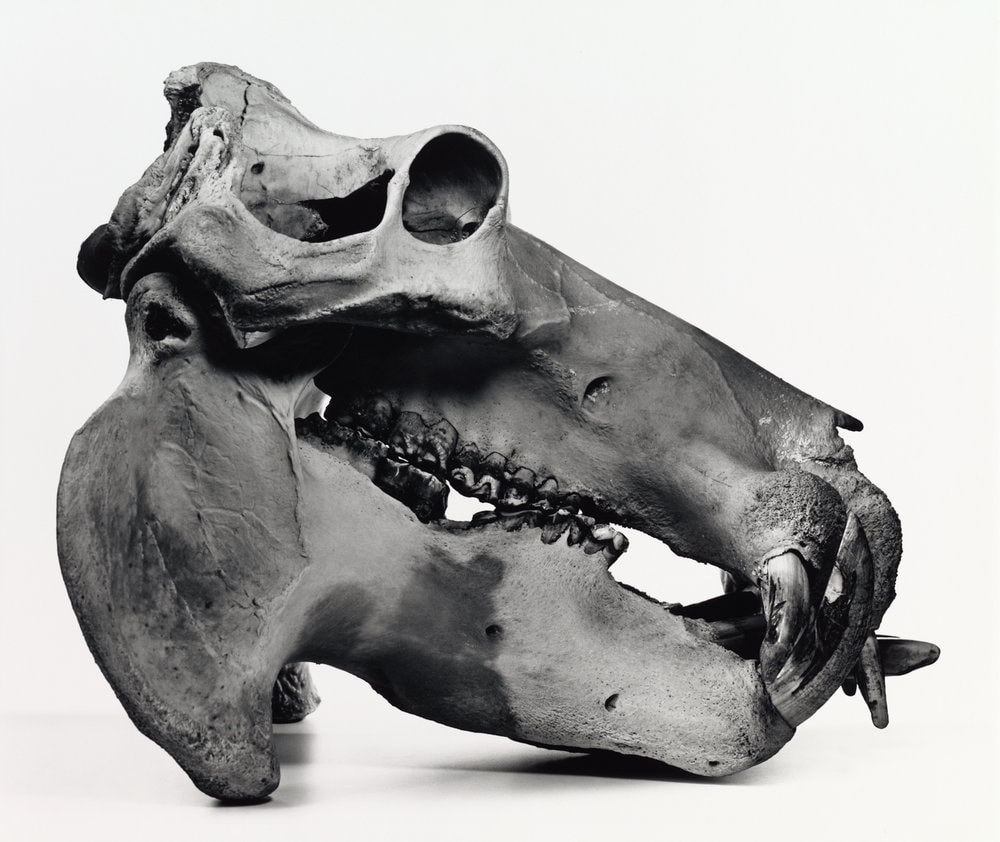
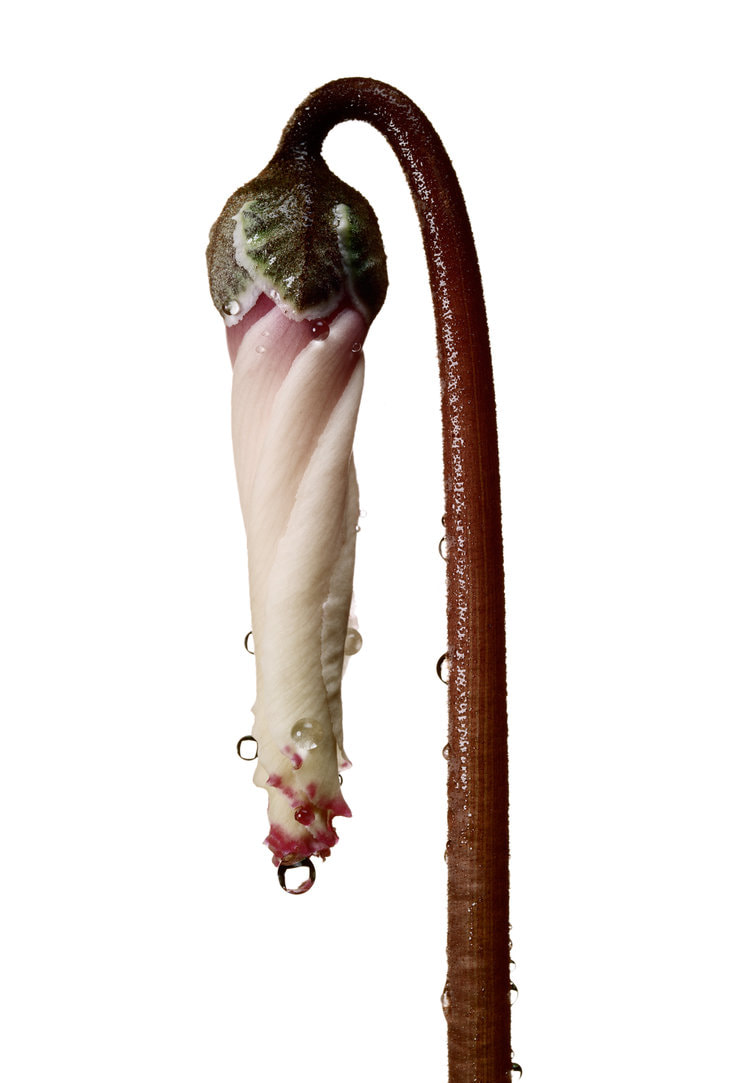
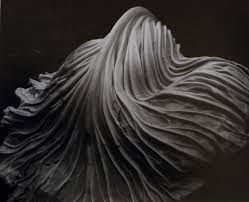
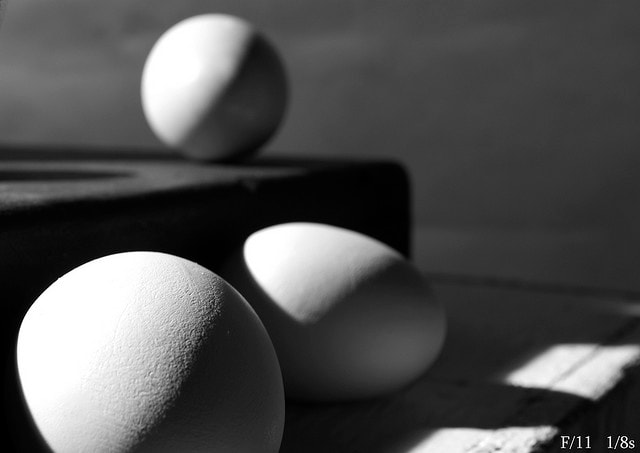
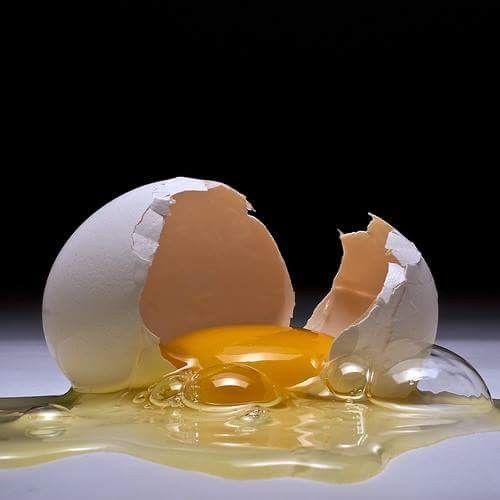
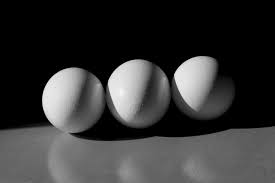
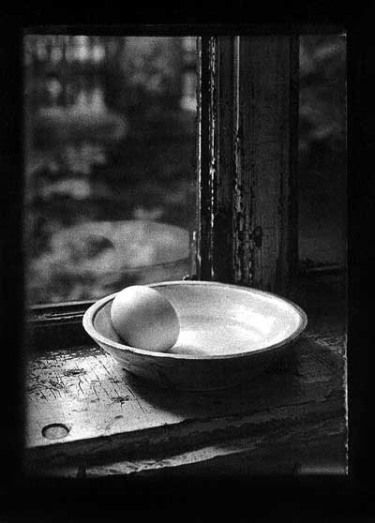
lesson focus - - - form and tone
Form in photography is where light and shape collide to create images with depth and what I like to think of as touchability. Form makes an image lifelike, so the photo stands out, because the viewer feels that they can reach in and touch the person or object.
- studio photography week 2 -
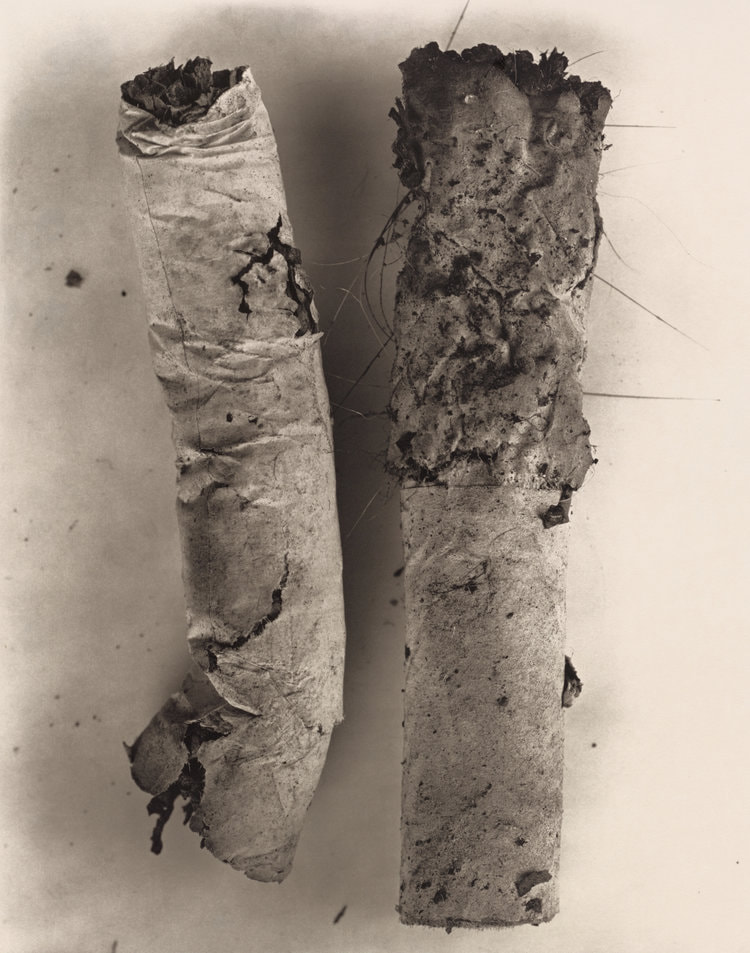
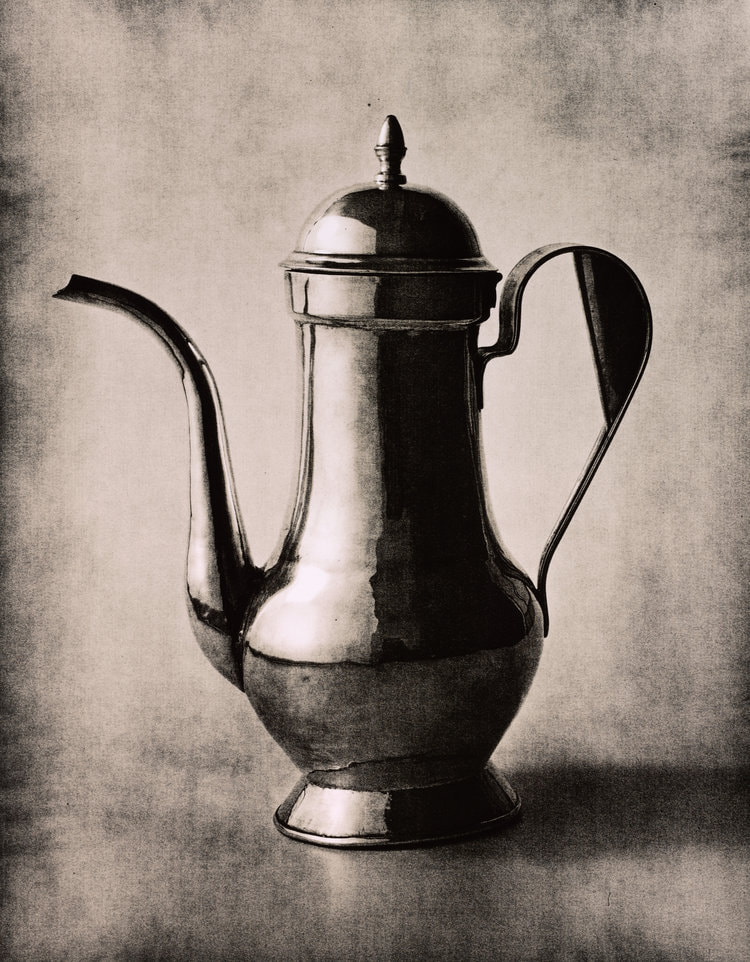
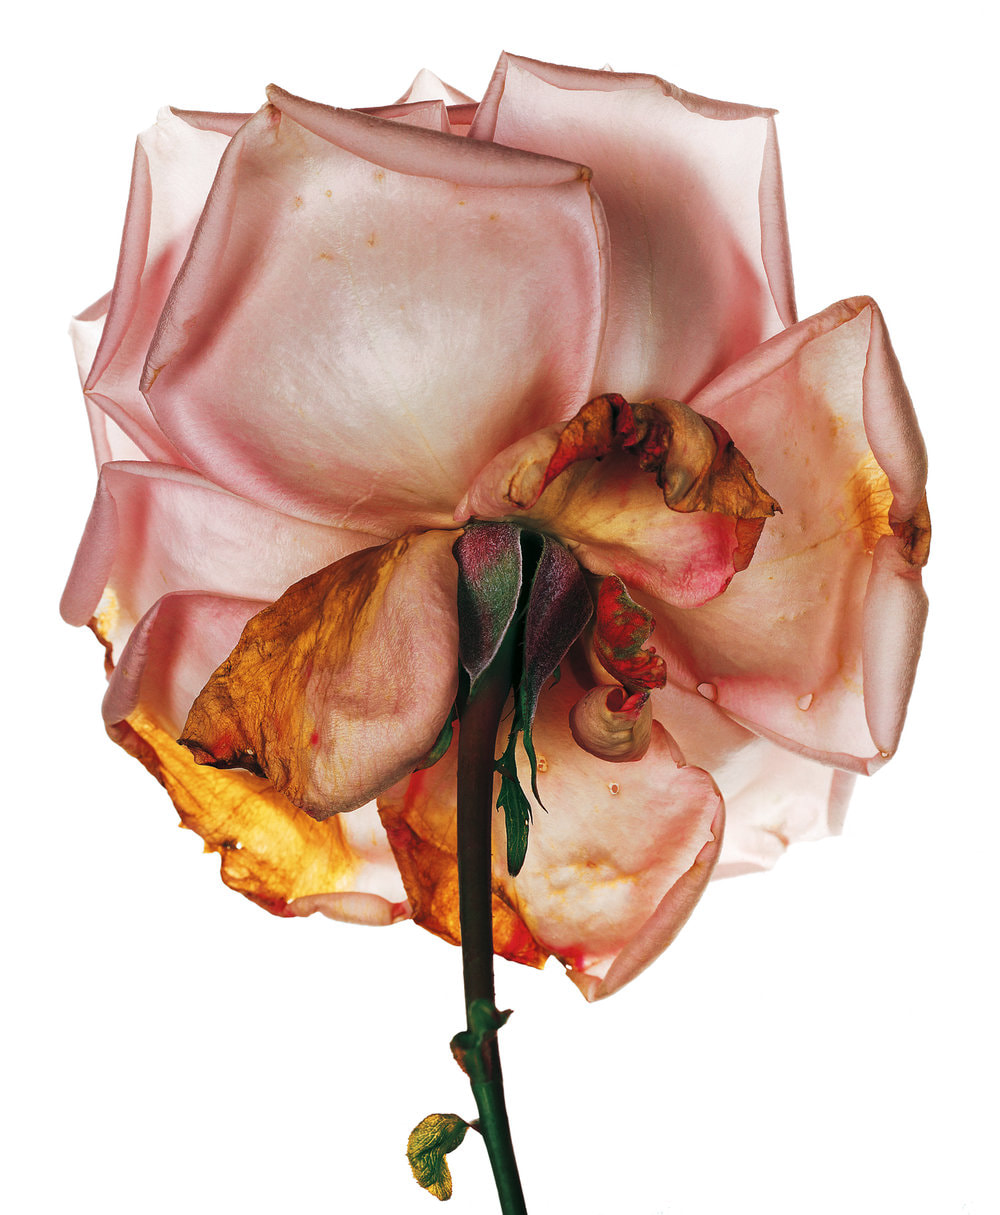
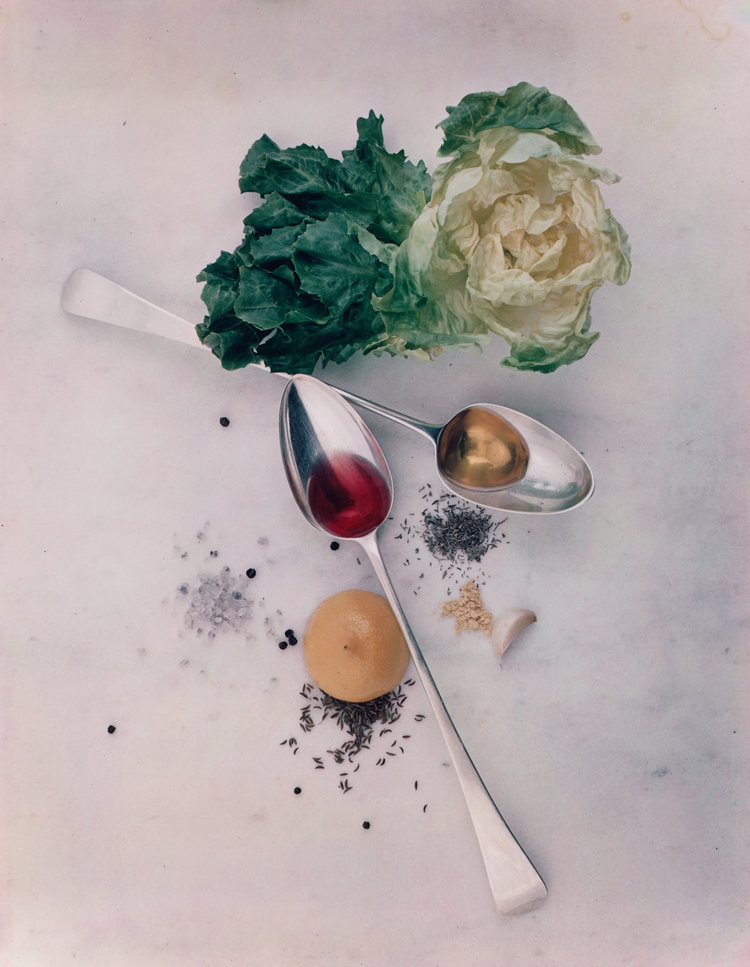
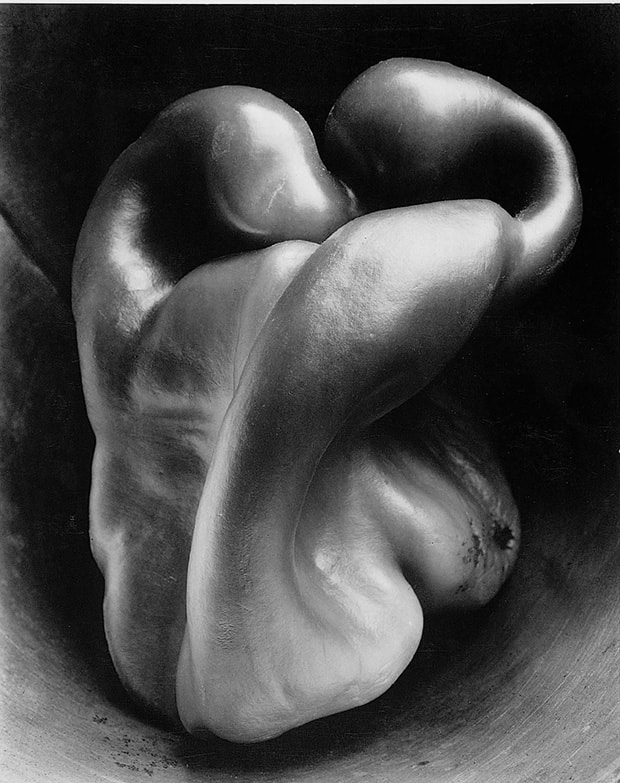
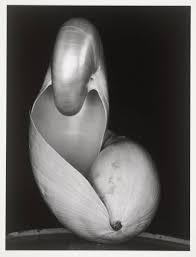
irving penn |
“I can get obsessed by anything if I look at it long enough. That's the curse of being a photographer.” |
|

|
|
“Anything that excites me for any reason, I will photograph; not searching for unusual subject matter, but making the commonplace unusual.” |

response examples
|
Review this student example. Discuss it's:
composition (framing, camera angle, use of space) lighting (does it enhance or hinder the image) editing (in response to the key artist) creativity (what is it demonstrating about the creator) |
|
|
How is this image stronger?
|


|
This is an example of taking learning from in lesson into your home environment
|
|
- STUDIO PHOTOGRAPHY WEEK 3 -
|
Most portrait photographers focus their practice in the photography studio. This is because they have a greater control over all the elements contained within the photograph itself, such as lighting, composition, background, and styling. For this reason, the professional photography studio is often favoured by fashion and product photographers. TASK: Using the studio lighting layouts shown in the attached Powerpoint, work with your partner to capture a portrait photograph, demonstrating each setup. Don't forget to set your camera to the ideal settings for a studio environment, i.e. wide aperture and fast shutter speed. Make sure your ISO is set at 200 to start with and adjust it if necessary. |
|
|
If using a DSLR:
Set your aperture to a low number (large hole), i.e. f2, f4.5 Focus on the feature closest to your camera. Hold your camera as still as possible or use a tripod. Think about the lighting - where can you position your model to get enough light? |
If using a camera phone:
Get as close to your model as possible. Make sure your images are in focus! Do not apply any filters or adjust them before the lesson Think about the lighting - where can you position your model to get enough light? Experiment with both flash on and flash off Think carefully about your framing. |
Homework guidlines for the above lighting section
|
Previous Student examples of this task:
Alicia Quayson and Lucy Marks - B grade Ellie McCarthy - C grade Go to Classes - Past Students for access to their pages | ||
|
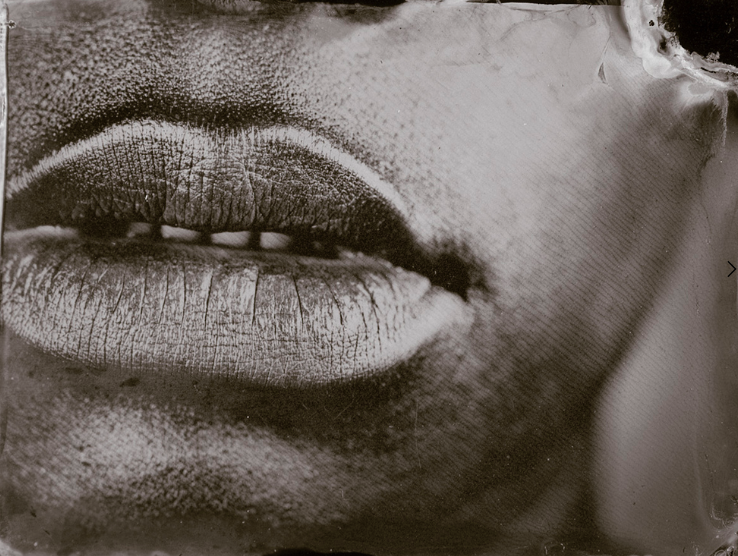
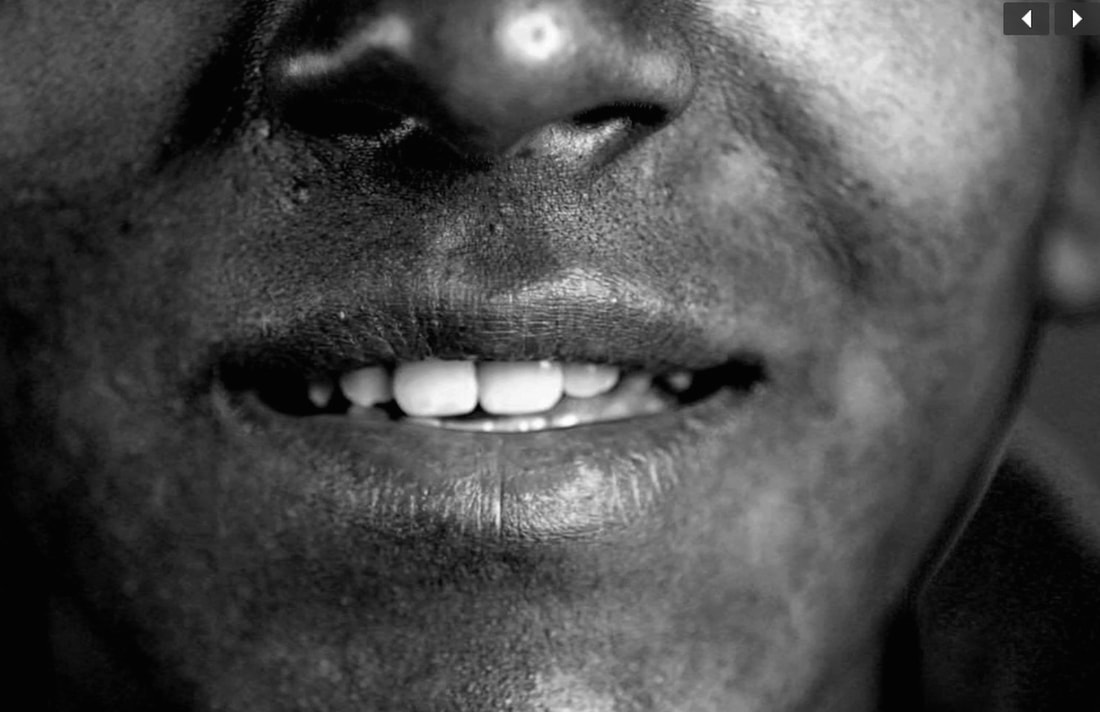
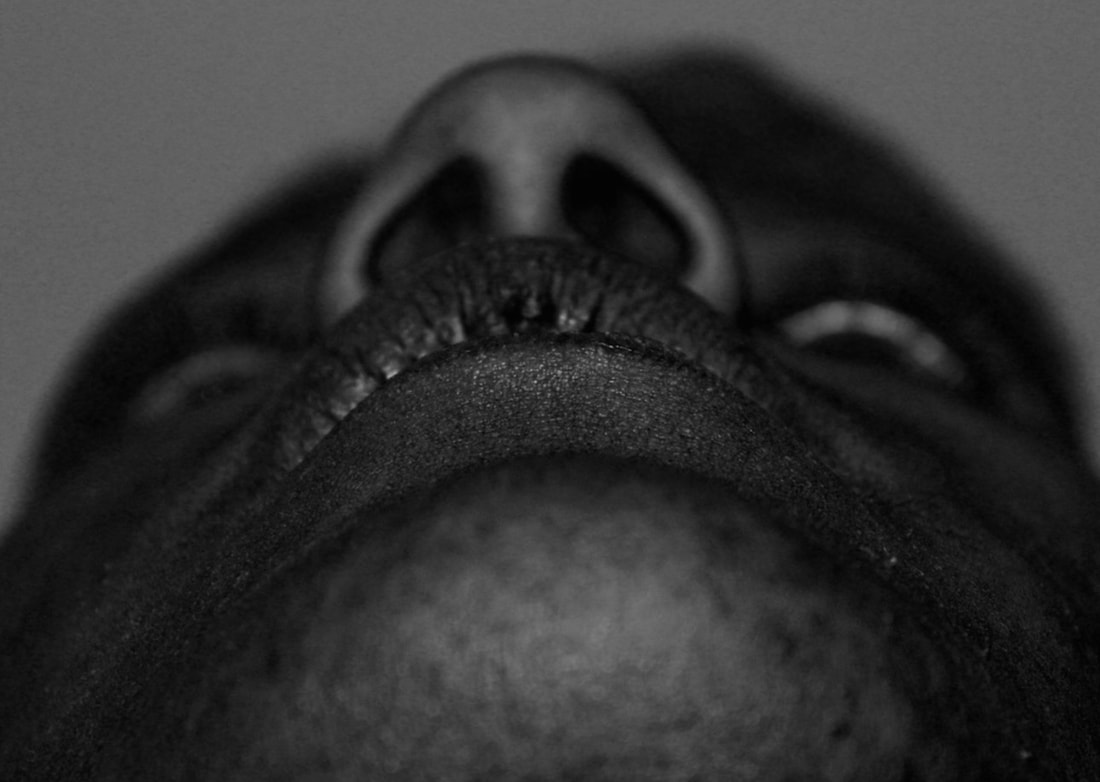
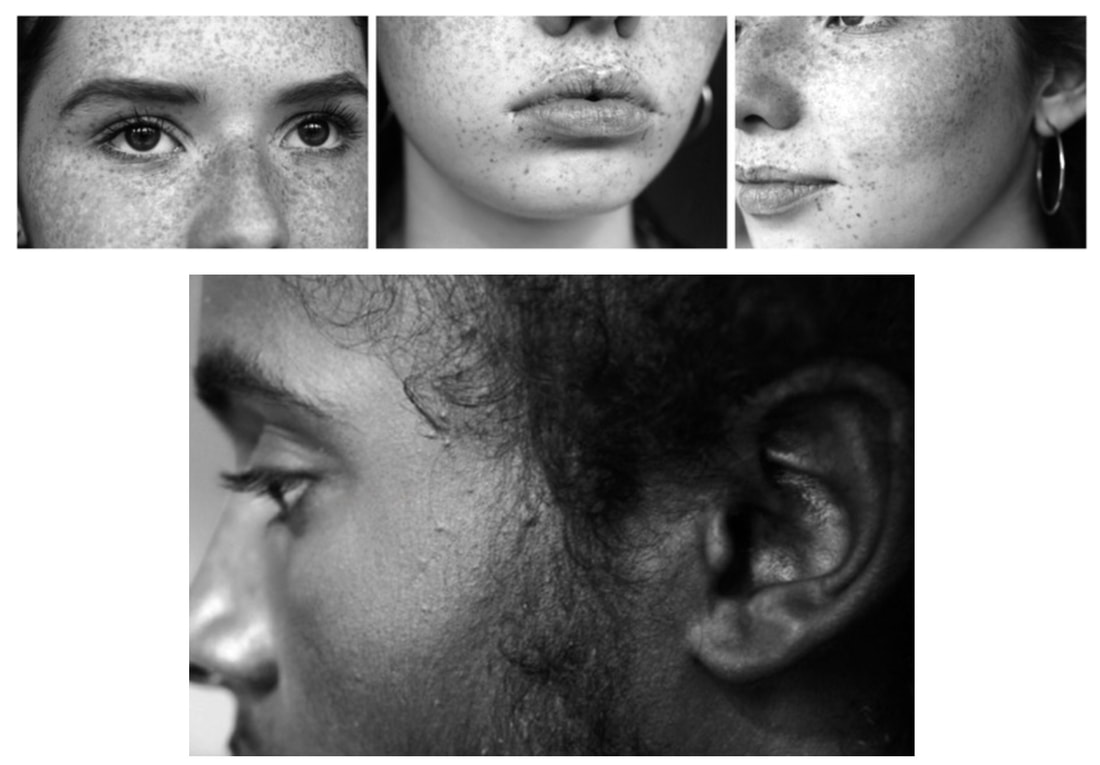
Critical and Contextual Myra Greene - Character Recognition The photographer Myra Greene creates portrait images of herself using traditional photographic processes. In the project character recognition she focusses on different parts of her face as a process of recognition and exploration of both herself, her identity and in turn racial stereotype and recognition. TASK Complete an artist analysis of Green's work, using the examples and template given to you in class. Upload this to your weebly, along with at least 3 relevant examples of her work. Homework Take a series of images (at least 2 people with 10 photos of each) of different members of your family in the style of Myra Greene, with the intention of creating a visual representation of the person without showing their full facial portrait. Upload your photos onto your weebly before the next lesson, under the title Myra Green practical response. |
|
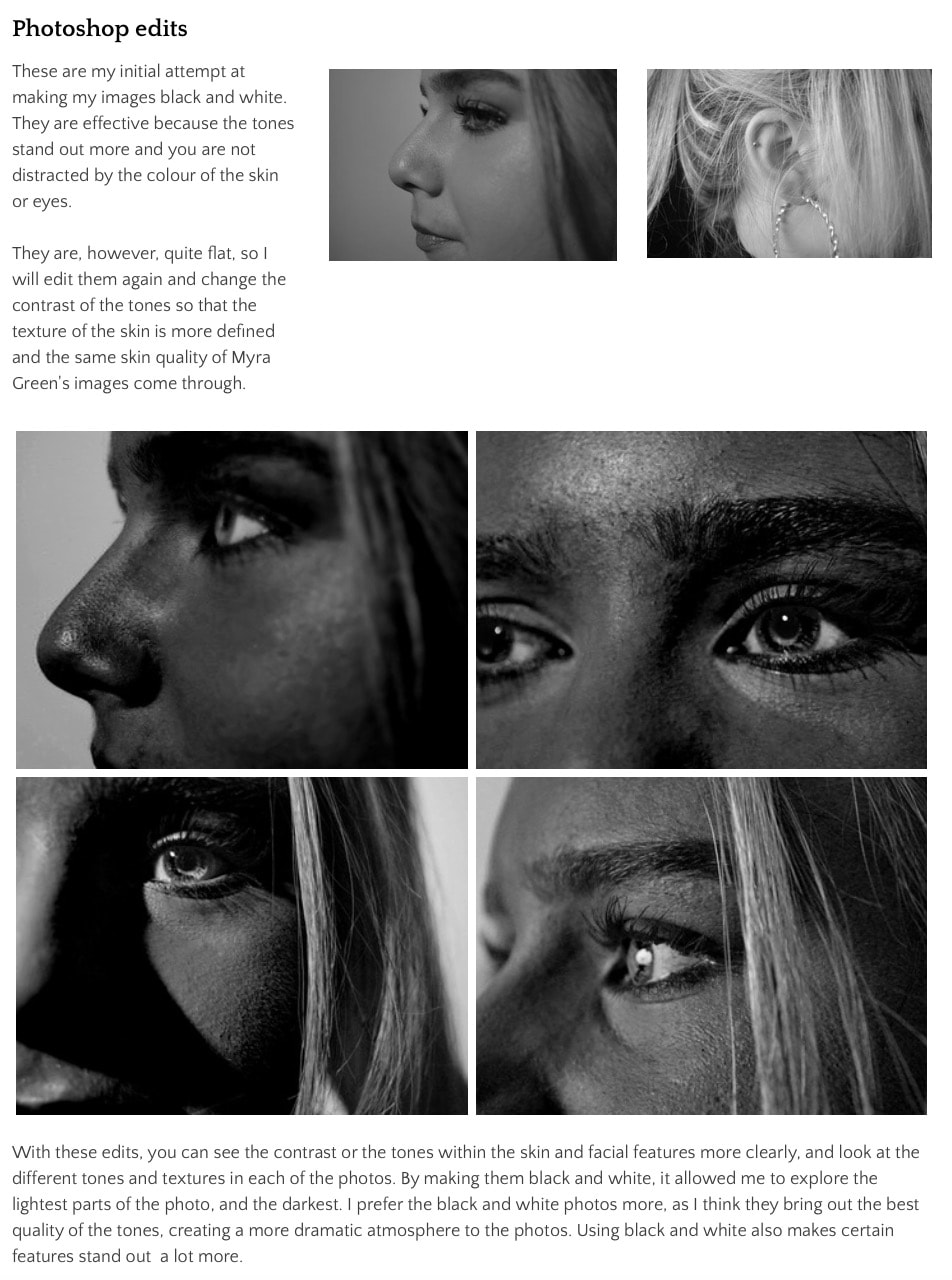
Editing your images
|
Use the attached tutorial to edit the images you have taken in response to Myra Greene.
You should demonstrate skills in image selection, cropping and correcting black and white tones. Your teacher will have you analyse one another's work in the second half of the lesson, so complete as much as you can. Below are some additional editing techniques if you complete the required edits. Pay close attention to detail and choose a range of photographs - each photo brings about new challenges. |
A - - - Grade - - - examples

|
|
B - - grade - - examples ....
TODAY'S FOCUS - - - line AND shape revisited
|
Using Line to create a sense of considered balance in imagery
|
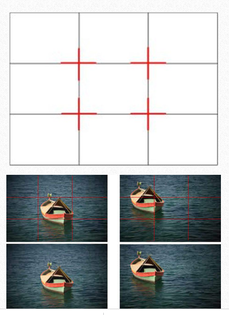
The Rule of Thirds
The basic principle behind the rule of thirds is to imagine breaking an image down into thirds (both horizontally and vertically) so that you have 9 parts. This theory is if you place points of interest in the intersections or along the lines of the grid in your viewfinder, your photo becomes more balanced and will enable a viewer to interact with it more naturally. Studies have shown that when viewing images, people’s eyes usually go to one of the intersection points rather than the center of the shot – using the rule of thirds works with this natural way of viewing an image rather than working against it. In learning how to use the rule of thirds (and then to break it) the most important questions to be asking of yourself are:
|
TASK 1
- - (to demonstrate a focus on A03 - refinement of your skill) - -
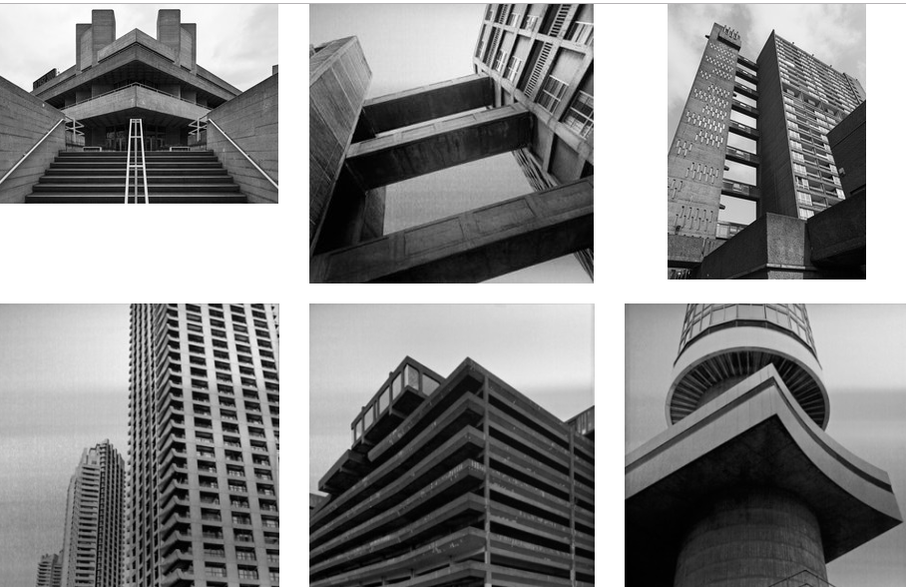
Design and execute a 30-45 minute walking route in your local area and follow it whilst taking photos that show a strong understanding of three of the formal elements. You should take at least 35 images, using a variety of techniques previously learnt, i.e. composition, camera angle, aperture or shutter speed priority.
Think about a focus as this will help you narrow down your eye - could you design a walk for man vs nature, nature itself, urban lifestyle, development, architecture, city living, London materials, etc....
Upload these as a gallery and using the same editing techniques as last time, refining at least 8 so that you show your ability to improve images in post-production. Evaluate your best one using the department guidance.
TASK 2
- - Independent choice over artist - -
Choose between the next three artists and techniques in which you wish to investigate further for the remaining weeks of this project. Avoid choosing based solely upon how the technique looks. Instead, think carefully about the issue being addressed within each one and how you could respond to it. You will also need to plan your time - you will present on the first lesson back after half term, so any Photoshop edit's you may want to attempt should be completed before that lesson. You may also need to plan extra time within the photography department in order to achieve the level of work expected.
PHOTOSHOP IS £9 A MONTH STUDENT DISCOUNT - IT IS THE COURSE EXPECTATION FOR YOU TO HAVE THIS
PHOTOSHOP IS £9 A MONTH STUDENT DISCOUNT - IT IS THE COURSE EXPECTATION FOR YOU TO HAVE THIS
Layered landscapes
Landscapes can changes continuously over a period of time. These artists all deal with the temporal quality of the landscape around us. They layer images over one another in a variety of different ways to display many different times or perspectives in one image. They are in effect collages of many moments.
Landscapes can changes continuously over a period of time. These artists all deal with the temporal quality of the landscape around us. They layer images over one another in a variety of different ways to display many different times or perspectives in one image. They are in effect collages of many moments.
|
CLASS TASK 1
You will be allocated one of these artists by your teacher. You must use your own research and interpretations to note down everything you can regarding the form, process, content and connections to the "formal elements" unit of work. Once you have spent 15 minutes on your first artist, you will swap with the person next to you. Spend another 15 minutes completing the same analysis for this new artist. After you have completed 2 artists, get together in the following pairs and discuss what you have found out: Alec and Oscar Salvo and Adaeze Alfie and Daniel IMPORTANT: Take notes from one another about their artists. Your teacher will ask you to choose an artist from these 3 to create a final layered landscape response to. You must be able to JUSTIFY (explain why) you feel this artist is the most relevant to the landscape unit and your own intentions as a photographer. Questions to consider in your research: Are there any hidden meanings behind their work? Why is their work of interest to you? How have they used the formal elements to create aesthetically appealing imagery? What is unique about this artist and what catches your eye? What could you produce as a response? What do you hope to achieve through investigating their technique? |
CLASS TASK 2 Choose one of the provided artists to complete a formal artists analysis on, using one of their images to analysis using the previously used template. Research further into the artist to gain more of an understanding about their practice and the context of their work. Complete a practical response to their work, demonstrating a link to the technique they use. Consider what it is you are trying to represent within the landscape. Your teacher will demonstrate various skills on Photoshop used to create these effects, but they are mainly a combination of semi-transparent layers. Choose your location wisely - this can have a real impact on the quality of your outcome. You must take a minimum of 35 images on your practical shoot, though you may not use them all.
| ||
